Silkscreen for Kids
Date: 12 October 2013
Time: 2-3pm
Age: 7-12 years old
Location: Lake County Discovery Museum
Objectives:
I have to admit, it was the first time I had ever created a silkscreen. Fortunately, it was also true of all of the participants, so we had a great time exploring a new venture.
We had nine participants from the age of 7 to 12. Some of the participants knew each other because of summer camp or because they were siblings. Many had been to the Lake County Discovery Museum before. Some had even come a bit earlier to see the exhibition.
Time: 2-3pm
Age: 7-12 years old
Location: Lake County Discovery Museum
Objectives:
- Describe the silkscreen process
- Recognize Charley Harper's "minimal realism" style
- Design two stencils and create a silkscreen
I have to admit, it was the first time I had ever created a silkscreen. Fortunately, it was also true of all of the participants, so we had a great time exploring a new venture.
We had nine participants from the age of 7 to 12. Some of the participants knew each other because of summer camp or because they were siblings. Many had been to the Lake County Discovery Museum before. Some had even come a bit earlier to see the exhibition.
|
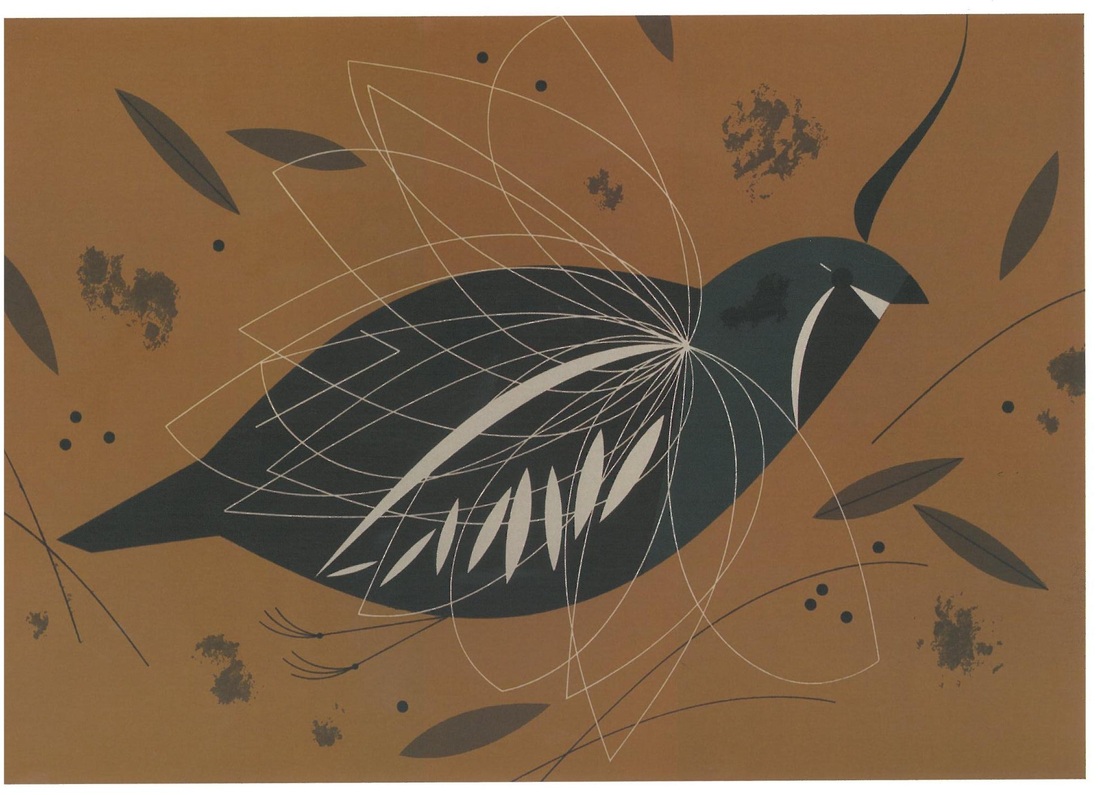
We started out at the entrance to the Beguiled by the Wild: The Art of Charley Harper exhibition. I described the silkscreen process and showed the multiple screens and layers it takes to create one picture.
|

|
|
|
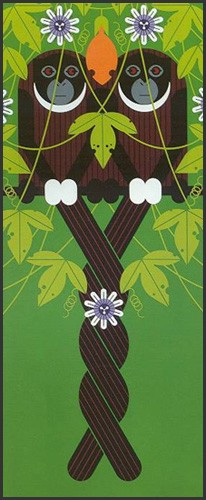
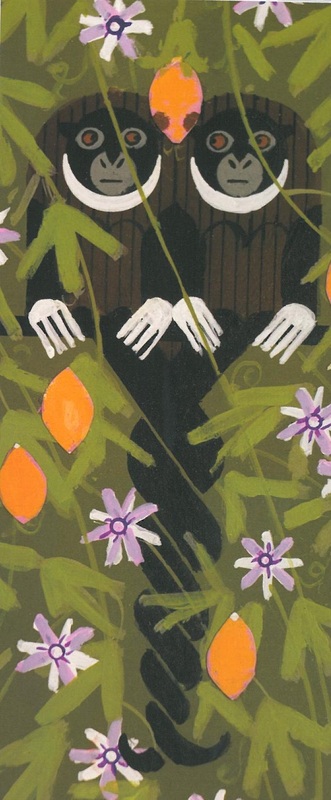
Next, we looked at Love on a Limb and compared the print to the painting version. They made several key observations:
|
|
|
|
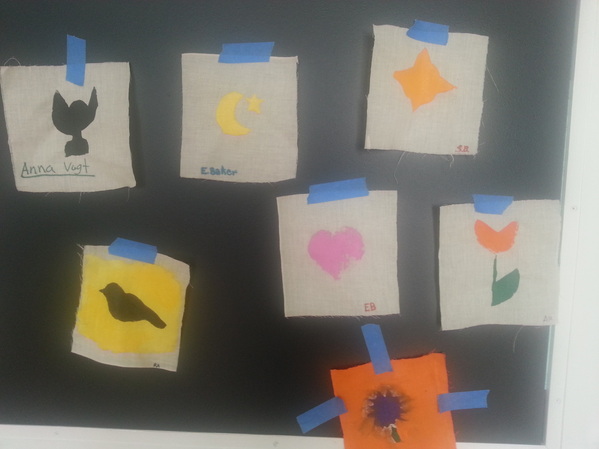
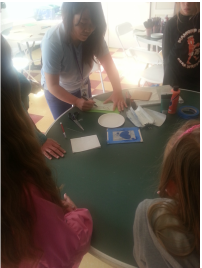
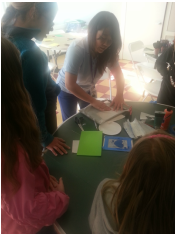
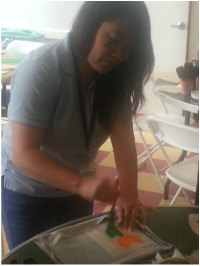
The introduction only took about 10 minutes because I wanted the majority of the time reserved for silkscreening. I first gave a demonstration on how to create their own silkscreen. First, they would draw a stencil on contact paper. Then cut it out with an x-acto knife. Students would peel off the stencil and adhere it to the back of the screen. Each student had one screen and had enough space to create two stencils. We placed the screen on top of a piece of cloth that was on top of a piece of cardboard.
|
|
|
|
We used sponge brushes to dab multiple colors through the screen onto the print. I was pleased when I peeled the screen off and the print was a success! The students were also excited and off they went!
The room was alive with creativity and 50 minutes went by so quickly. Many even wanted to keep their stencils so we cut out the fabric from the screen for them. As an educator, it just makes me happy to see students try a new experience and feel accomplished in their creativity.
The room was alive with creativity and 50 minutes went by so quickly. Many even wanted to keep their stencils so we cut out the fabric from the screen for them. As an educator, it just makes me happy to see students try a new experience and feel accomplished in their creativity.